Troubleshooting Common Issues with Pushrod Sewer Cameras
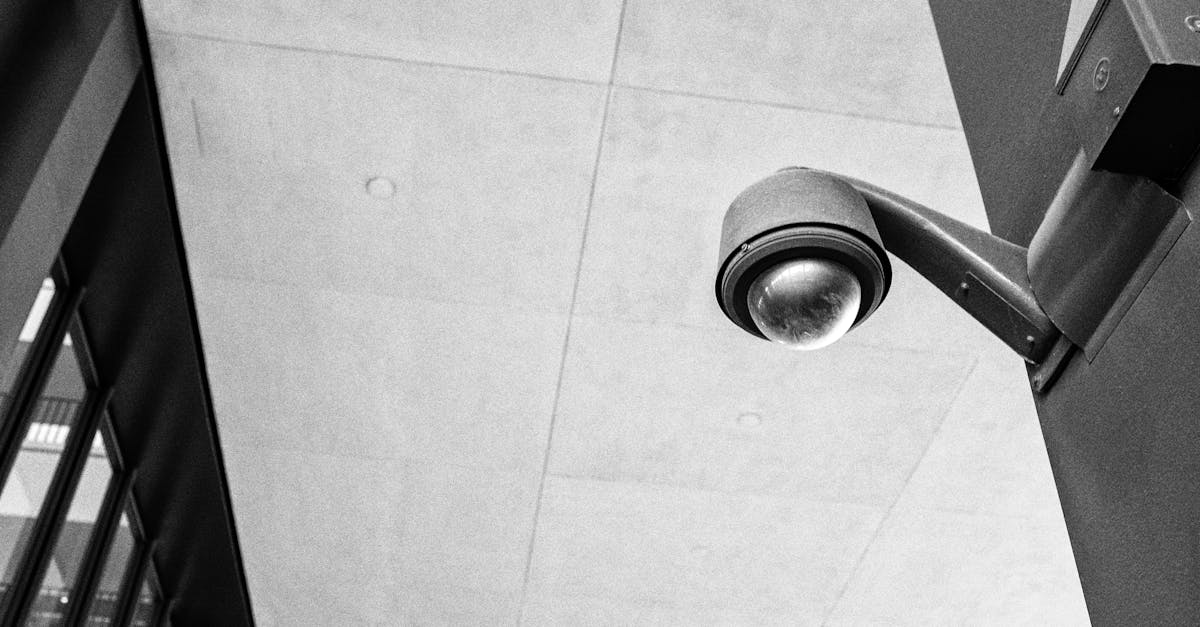
Table Of Contents
Resolving Screen Display Issues
When facing screen display issues with pushrod sewer cameras, the problem may lie in the brightness settings. Ensure that the camera's brightness settings are adjusted correctly to enhance visibility during inspections. Incorrect brightness levels can result in a poor display quality, making it challenging to identify potential issues within the sewer lines. By adjusting the brightness settings appropriately, operators can improve the clarity of the visuals captured by the camera, facilitating a more effective inspection process.
If adjusting the brightness settings does not resolve the screen display issues, it is essential to check the camera system for any potential malfunctions. Inspect the connections, cables, and power source to ensure that everything is in working order. Sometimes, a simple disconnection or loose cable can cause disruptions in the screen display. By carefully inspecting the camera system and ensuring all components are securely connected, operators can eliminate potential issues that may be affecting the display quality.
Adjusting Brightness Settings
To adjust the brightness settings on your pushrod sewer camera, first, locate the settings menu on the device. This can usually be found by pressing the menu button on the control unit or screen. Once you have accessed the settings menu, look for the option that allows you to adjust the brightness levels. You may be able to increase or decrease the brightness using the buttons on the control unit or by selecting a specific option on the screen.
It is important to find the right balance when adjusting the brightness settings. If the brightness is too high, the image may appear washed out and details may be lost. On the other hand, if the brightness is too low, the image may be too dark to see clearly. Make small adjustments to the brightness levels while viewing the camera feed to ensure you achieve the optimal visibility for your sewer inspection needs.
Dealing with Camera Freezing
When dealing with camera freezing issues in pushrod sewer cameras, it is essential to first troubleshoot the possible causes before attempting any solutions. One common reason for camera freezing is a software glitch or system overload. To address this, try restarting the camera system by power cycling it. Simply turn off the camera, disconnect it from the power source, wait for a few minutes, and then reconnect it and power it back on. This simple step can help reset the system and resolve any temporary software hiccups causing the freezing.
If power cycling the camera system does not resolve the freezing issue, it may be necessary to check the camera's connection cables and ports for any damage or loose connections. Faulty or loose cables can disrupt the data flow, leading to camera freezing. Ensure all cables are securely connected and inspect them for any signs of wear and tear. If any cables appear damaged, replace them with new ones to ensure a stable connection and prevent further freezing incidents.
Resetting the Camera System
To reset the camera system, begin by locating the reset button on the camera or the control unit. The reset button is usually a small, recessed button that requires a pin or paperclip to press. Once located, gently press and hold the reset button for about 10 seconds. This action will restart the camera system and clear any potential software glitches that may be causing issues.
If pressing the reset button does not resolve the problem, consider power cycling the camera system. To do this, simply turn off the camera and control unit, unplug all cables, and remove the battery if applicable. Leave the system unplugged for a few minutes to ensure a complete power cycle. Then, reconnect all cables and power on the system. This process can sometimes fix persistent issues by reinitialising the system components.
Handling Water Damage
When faced with water damage to your pushrod sewer camera, it is crucial to act promptly to prevent further harm. Begin by carefully removing the camera from the water without causing any additional damage. Avoid turning on the camera or attempting to use it until it has been properly dried to prevent any internal electrical issues.
Next, disassemble the camera as much as possible to expedite the drying process. Use a soft absorbent cloth to gently pat dry the external surfaces of the camera. Avoid using excessive heat, such as hairdryers, as this may cause further damage to the delicate electronic components. Allow the camera to air dry in a warm, dry environment for at least 48 hours before reassembling and testing it.
Drying the Camera Properly
After the camera has been exposed to water or damp conditions, it is crucial to dry it properly to prevent any long-term damage. Begin by carefully wiping down the exterior of the camera with a clean, dry cloth to remove any visible moisture. Avoid using excessive force to prevent any potential damage to the camera casing or controls. Once the external surfaces are dried, focus on removing any moisture that may have entered the camera's internal components.
Next, the camera should be placed in a warm, dry environment to allow for thorough drying. Avoid exposing the camera to direct sunlight or high heat sources, as this can cause damage to the delicate electronic components. Instead, opt for a room temperature location with good air circulation. Allow the camera to sit undisturbed for at least 24-48 hours to ensure that all moisture has evaporated completely. Check the camera periodically during this time to ensure the drying process is progressing effectively.
FAQS
How can I resolve screen display issues with my pushrod sewer camera?
To resolve screen display issues, you can try adjusting the brightness settings on the camera system. This may help improve the clarity of the images on the screen.
What should I do if my pushrod sewer camera freezes during operation?
If your pushrod sewer camera freezes, you can try resetting the camera system. This may help to restart the device and resolve the freezing issue.
How can I handle water damage to my pushrod sewer camera?
If your pushrod sewer camera has suffered water damage, it is important to dry the camera properly. This can help prevent further damage and ensure the device continues to function correctly.
What is the best way to adjust the brightness settings on a pushrod sewer camera?
To adjust the brightness settings on a pushrod sewer camera, refer to the user manual for specific instructions on how to access and modify the settings.
How can I ensure my pushrod sewer camera is dried properly after exposure to water?
To ensure proper drying of your pushrod sewer camera after exposure to water, consider using a gentle heat source or placing the device in a container with silica gel packets to absorb moisture effectively.
Related Links
Comparing Pushrod Sewer Cameras with Other Sewer Inspection EquipmentBest Practices for Operating Pushrod Sewer Cameras
Training and Certification Requirements for Operating Pushrod Sewer Cameras
The Role of Pushrod Sewer Cameras in Preventative Maintenance
Common Applications of Pushrod Sewer Cameras in Plumbing Industry
Understanding the Technology Behind Pushrod Sewer Cameras
Maintenance and Care Tips for Pushrod Sewer Cameras
How to Choose the Right Pushrod Sewer Camera for Your Needs
Advantages and Disadvantages of Pushrod Sewer Cameras